
🔏 Customize key cloak's pages as if they were part of your App 🔏
![]()


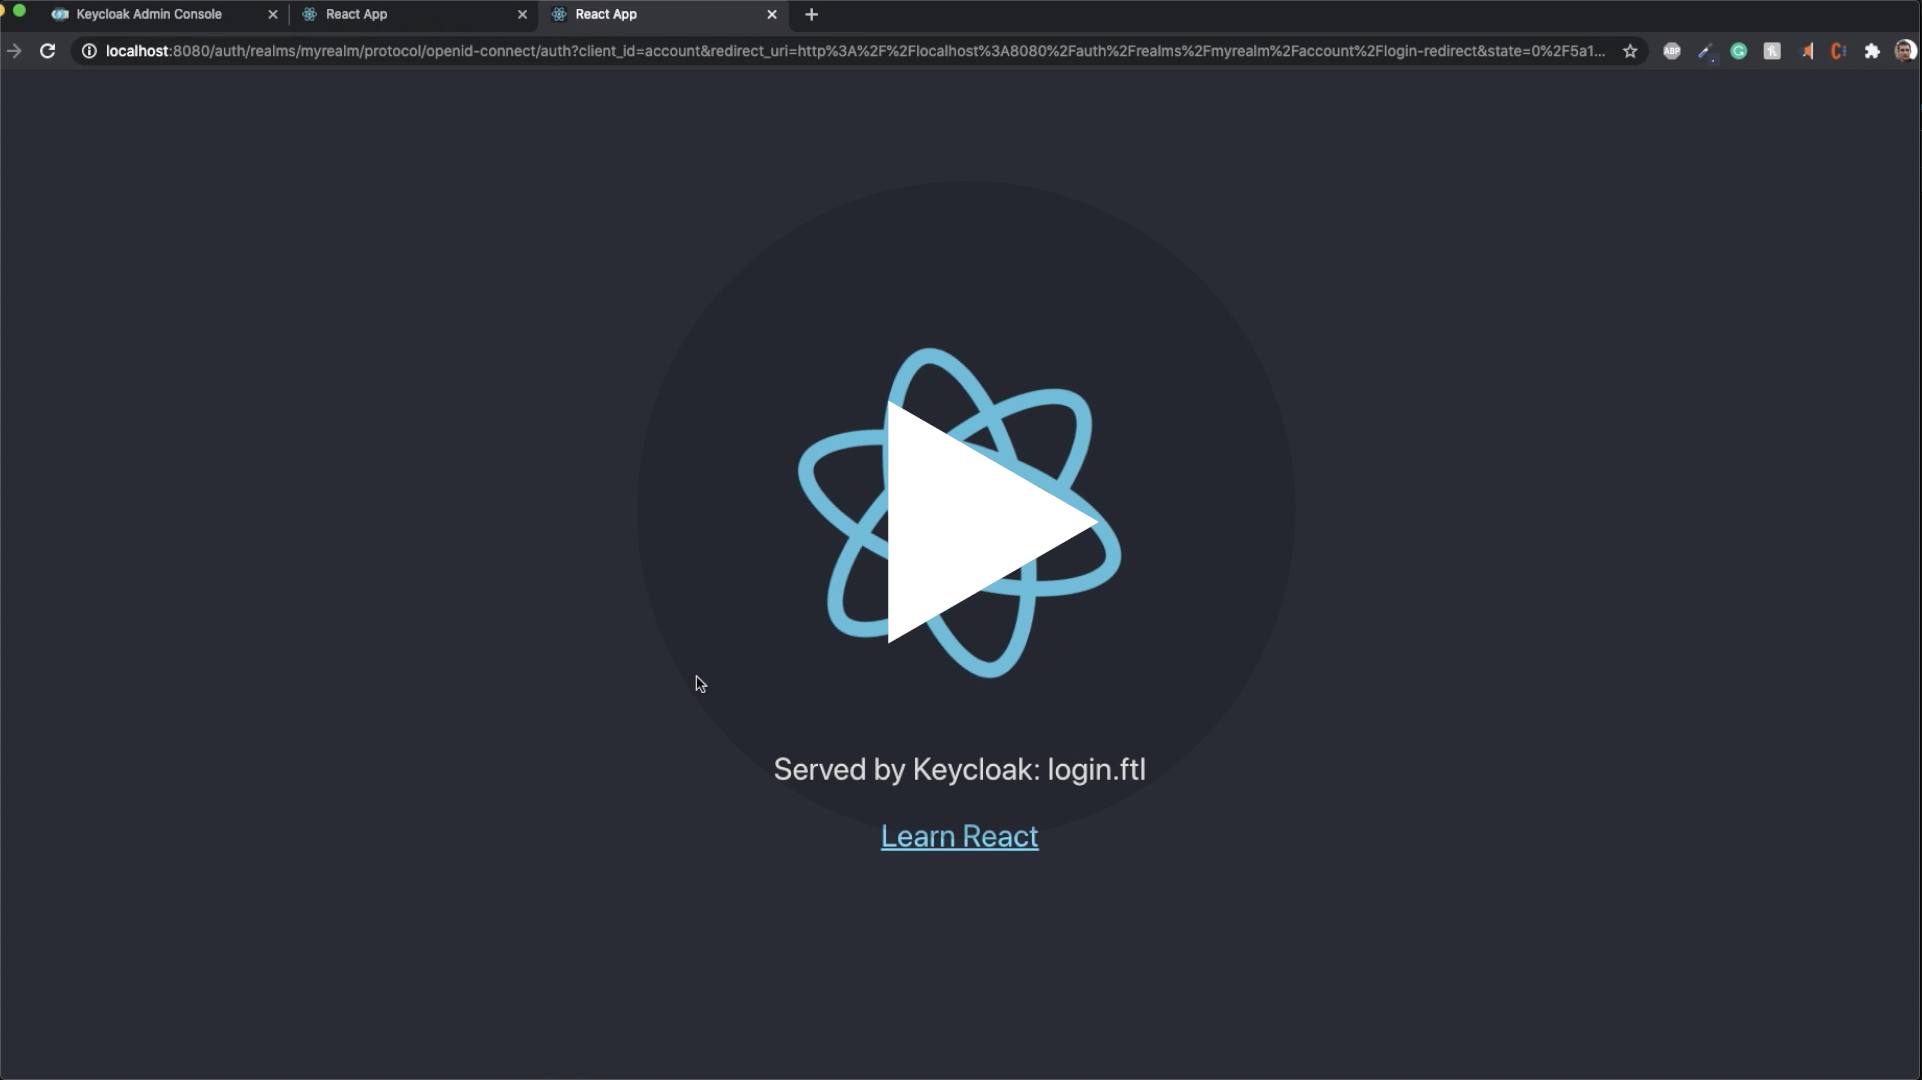
Ultimately this build tool Generates a Keycloak theme

Motivations
The problem:
Without keycloakify:

Wouldn't it be great if we could just design the login and register pages as if they where part of our app?
Here is yarn add keycloakify for you 🍸
With keycloakify:

TL;DR: Here is a Hello World React project with Keycloakify set up.
- Motivations
- How to use
- GitHub Actions
- Requirements
- Limitations
- API Reference
- Implement context persistence (optional)
How to use
Setting up the build tool
"homepage": "https://URL.OF/YOUR-APP"
"dependencies": {
    "keycloakify": "^0.0.10"
},
"scripts": {
    "keycloak": "yarn build && build-keycloak-theme",
},
It is mandatory that you specify the url where your app will be available
using the homepage field.
Once you've edited your package.json you can install your new
dependency with yarn install and build the keycloak theme with
yarn keycloak.
Once the build is complete instructions about how to load the theme into Keycloak are printed in the console.
Specify from where the resources should be downloaded.
When you run npx build-keycloak-theme without arguments, Keycloakify will build
a standalone version of the Keycloak theme. That is to say even if your app, the
one hosted at the url specified as homepage in your package.json, is down the
Keycloak theme will still work.
In this mode (the default) every asset are served by the keycloak server. It is
convergent for debugging but it production you probably want the assets to be
fetched from your app.
Indeed in the default mode your users have to download again the whole app just
to access the login page. You probably have long-term asset caching
enabled in the server that host your app (example)
so it's better if only the html is served by the Keycloak server and everything
else, your JS bundles, your CSS ect point to your app.
To enable this behavior you car run:
npx build-keycloak-theme --external-assets
(instead of npx build-keycloak-theme)
This is something you probably want to do in your CI pipeline. Example
Also note that there is a same-origin policy exception for fonts so you must enabled
CORS for fonts on the server hosting your app. Concretely this mean that your server should add a Access-Control-Allow-Origin: * response header to
GET request on *.woff2?. Example with Nginx
Developing your login and register pages in your React app
Just changing the look
The first approach is to only arr/replace the default class names by your own.
import { App } from "./<wherever>/App";
import {
  KcApp,
  defaultKcProps,
  kcContext
} from "keycloakify";
import { css } from "tss-react";

const myClassName = css({ "color": "red" });

reactDom.render(
    // Unless the app is currently being served by Keycloak
    // kcContext is undefined.
    kcContext !== undefined ?
        <KcApp
            kcContext={kcContext}
            {...{
                ...defaultKcProps,
                "kcHeaderWrapperClass": myClassName
            }}
        /> :
        <App />, // Your actual app
    document.getElementById("root")
);
result:

Changing the look and feel
If you want to really re-implement the pages the best approach is to
create you own version of the <KcApp />.
Copy/past some of the components provided by this module and start hacking around.
Hot reload
By default, in order to see your changes you will have to wait for
yarn build to complete which can takes sevrall minute.
If you want to test your login screens outside of Keycloak, in storybook
for example you can use kcContextMocks.
import {
    KcApp,
    defaultKcProps,
    kcContextMocks
} from "keycloakify";

reactDom.render(
    kcContext !== undefined ?
        <KcApp
            kcContext={kcContextMocks.kcLoginContext}
            {...defaultKcProps}
        />
    document.getElementById("root")
);
then yarn start ...
Checkout this concrete example
NOTE: keycloak-react-theming was renamed keycloakify since this video was recorded
GitHub Actions

Here is a demo repo to show how to automate the building and publishing of the theme (the .jar file).
Requirements
Tested with the following Keycloak versions:
This tool will be maintained to stay compatible with Keycloak v11 and up, however, the default pages you will get (before you customize it) will always be the ones of the Keycloak v11.
This tools assumes you are bundling your app with Webpack (tested with 4.44.2) .
It assumes there is a build/ directory at the root of your react project directory containing a index.html file
and a build/static/ directory generated by webpack.
All this is defaults with create-react-app (tested with 4.0.3=)
- For building the theme:
mvn(Maven) must be installed - For development (testing the theme in a local container ):
rm,mkdir,wget,unzipare assumed to be available anddockerup and running.
NOTE: This build tool has only be tested on MacOS.
Limitations
In the standalone mode (when you run npx build-keycloak-theme without --external-assets) the fonts won't work if you are self
hosting them. This, for example, won’t work: src: url("/assets/worksans-bold-webfont.woff2") format("woff2")
you will have to host them externally
on a server that has CORS enabled.
Again this apply ony if you are not building your theme with --external-assets which is advised against in production.
API Reference
The build tool
Part of the lib that runs with node, at build time.
npx build-keycloak-theme [--external-assets]: Builds the theme, the CWD is assumed to be the root of your react project.npx download-sample-keycloak-themes: Downloads the keycloak default themes (for development purposes)
Implement context persistence (optional)
If, before logging in, a user has selected a specific language you don't want it to be reset to default when the user gets redirected to the login or register pages.
Same goes for the dark mode, you don't want, if the user had it enabled to show the login page with light themes.
The problem is that you are probably using localStorage to persist theses values across
reload but, as the Keycloak pages are not served on the same domain that the rest of your
app you won't be able to carry over states using localStorage.
The only reliable solution is to inject parameters into the URL before
redirecting to Keycloak. We integrate with
keycloak-js,
by providing you a way to tell keycloak-js that you would like to inject
some search parameters before redirecting.
The method also works with @react-keycloak/web (use the initOptions).
You can implement your own mechanism to pass the states in the URL and
restore it on the other side but we recommend using powerhooks/useGlobalState
from the library powerhooks that provide an elegant
way to handle states such as isDarkModeEnabled or selectedLanguage.
Let's modify the example from the official keycloak-js documentation to
enables the states of useGlobalStates to be injected in the URL before redirecting.
Note that the states are automatically restored on the other side by powerhooks
import keycloak_js from "keycloak-js";
import { injectGlobalStatesInSearchParams } from "powerhooks/useGlobalState";
import { createKeycloakAdapter } from "keycloakify";

//...

const keycloakInstance = keycloak_js({
    "url": "http://keycloak-server/auth",
    "realm": "myrealm",
    "clientId": "myapp"
});

keycloakInstance.init({
    "onLoad": 'check-sso',
    "silentCheckSsoRedirectUri": window.location.origin + "/silent-check-sso.html",
    "adapter": createKeycloakAdapter({
        "transformUrlBeforeRedirect": injectGlobalStatesInSearchParams,
        keycloakInstance
    })
});

//...
If you really want to go the extra miles and avoid having the white
flash of the blank html before the js bundle have been evaluated
here is a snippet that you can place in your public/index.html if you are using powerhooks/useGlobalState.